If you ask any seasoned photo booth operator what their most valuable piece of kit is, they won’t say it’s the camera or the quirky props. They’ll tell you it’s the printer. And for good reason. The absolute best printers for photo booths are almost always dye-sublimation printers, hands down. They’re built for the chaos of live events, churning out touch-dry, durable prints at lightning speed with a cost-per-print you can actually rely on.
Why Your Printer Is the Real Star of the Show
Let’s be honest, the real magic of a photo booth isn’t just about cramming your mates into a box with a feather boa. The show-stopping moment, the one that gets all the ‘oohs’ and ‘aahs’, is when a flawless, glossy print slides out of the machine just seconds after the flash goes off.
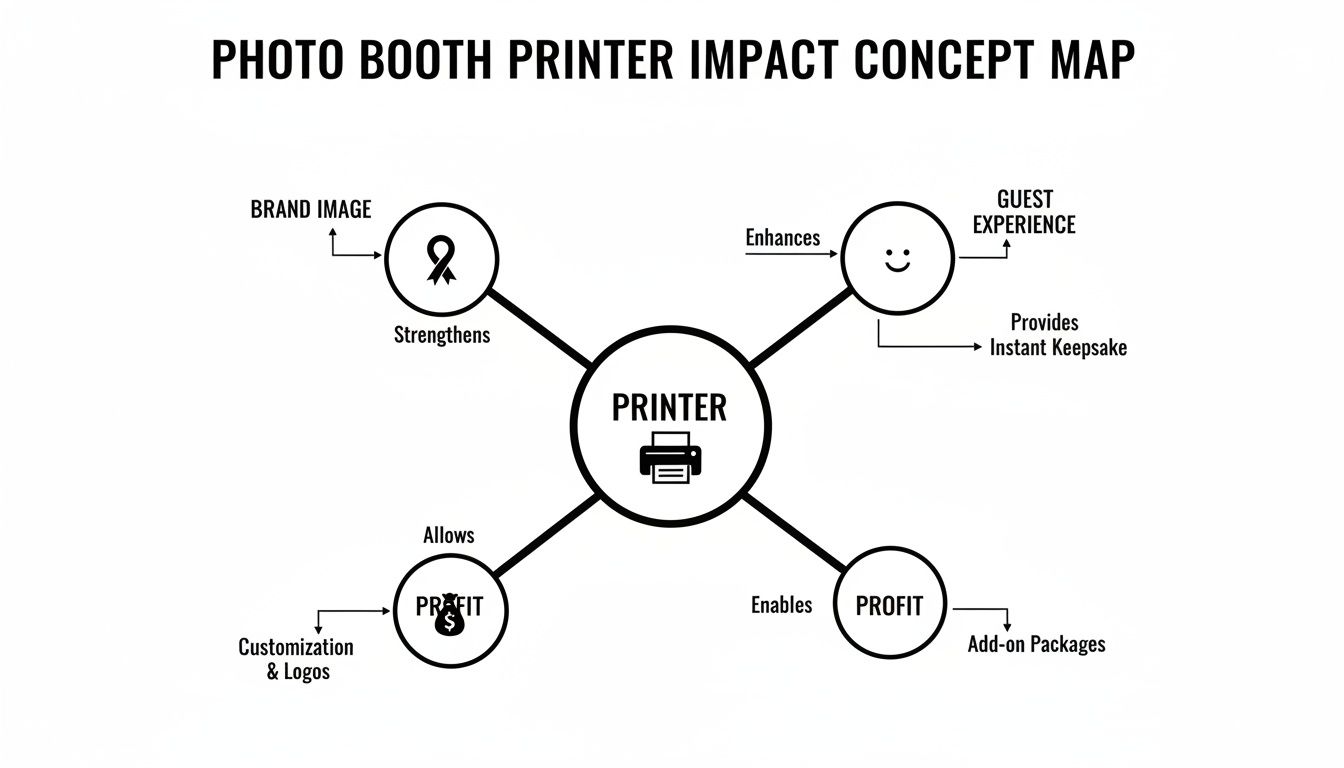
Your printer is the unsung hero of the whole operation. Think of it as the quiet but essential roadie for a superstar act like Taylor Swift – without it, there’s no show. Getting this choice right is a massive deal, and it boils down to three things that can make or break your event (and your business):
- The Guest Experience: A speedy printer keeps the queue moving and the energy high. It delivers a premium keepsake people will actually want to keep. A slow, jamming machine? That’s a certified party killer.
- Your Brand Image: Handing someone a crisp, vibrant print with your logo on it screams professionalism. A smudged, flimsy photo does the exact opposite, making your whole setup look cheap.
- Your Bottom Line: A good event printer gives you a clear, fixed cost-per-print. This means you can price your packages accurately and profitably, without getting stung by surprise ink and paper costs halfway through a wedding.
The Return of the Instant Print
In an age of endless digital scrolling, people are craving something real. The demand for a physical takeaway from an event has exploded, and the UK photo booth market has grown right alongside it. It’s currently valued at around USD 42.69 million, and forecasts suggest it could nearly double to USD 84.96 million by 2033.
What’s driving this? Event experts say over 60% of booth bookings now demand instant physical prints as a must-have feature. You can dig into more of the numbers on UK photo booth market growth and trends if you’re curious.
In the world of events, tangible memories are pure gold. The printer is the machine that mints that gold, turning a fleeting digital moment into a cherished physical object that guests take home, stick on their fridge, and talk about for weeks.
So, to get started, you need to know the main players in the game. You’ll really only come across two main types of printer technology out in the wild. Each has its own strengths, a bit like choosing between a director like James Cameron for an epic blockbuster or someone like Phoebe Waller-Bridge for witty, clever charm. They both produce absolute hits, but they get there in very different ways.
Let’s get a bird’s-eye view of how they stack up before we get into the nitty-gritty.
Quick Look Printer Technology Showdown
Here’s a simple table to compare the most common printer technologies you’ll find in professional photo booths. It highlights what they’re good at and where you might need to think twice.
| Printer Technology | Best For | Key Advantage | Consideration |
|---|---|---|---|
| Dye-Sublimation | High-volume events like weddings & corporate parties | Speed, durability, and consistent cost | Higher initial hardware cost |
| Event Inkjet | Controlled environments or specialised print finishes | Exceptional colour depth & media flexibility | Slower print speeds & less durable prints |
As you can see, they each have their place. But for the rough-and-tumble world of most live events, one of them clearly pulls ahead. Now, let’s dive deeper into what makes them tick.
The Great Printer Showdown: Dye-Sub vs. Inkjet
Alright, let’s get down to the single most important decision you’ll make for your photo booth: the printer. This isn’t just about picking a piece of kit; it’s the heart of your entire operation. Think of it as the main event, the heavyweight championship of the photo booth world.
In one corner, you’ve got the reigning champ, the undisputed king of events: Dye-Sublimation. In the other, the challenger, known for its artistic flair and incredible detail: Professional Event Inkjet. This choice will define your workflow, your guest experience, and ultimately, your bottom line.
As you can see, this one bit of hardware connects the smiles on your guests’ faces directly to the money in your bank account. Let’s break down how each of these contenders really performs under pressure.
The Magic of Dye-Sublimation Printers
Dye-sublimation (or just ‘dye-sub’ to those in the know) sounds a bit technical, but the process is pure genius. Forget squirting wet ink onto paper. This is more like a microscopic tie-dye process happening at incredible speed.
The printer uses a special ribbon loaded with solid ink—cyan, magenta, and yellow. A thermal print head heats this ribbon in a flash, turning the solid ink straight into a gas. This gas then infuses itself directly into the fibres of the special photo paper, becoming a permanent part of it. To top it all off, the printer adds a clear, protective overcoat, basically laminating the print on the spot. This final layer makes it waterproof, fingerprint-proof, and tough enough for any party.
This is the key difference: the colour isn’t just sitting on the paper; it’s in the paper. That’s why a dye-sub print pops out of the machine completely dry, durable, and ready to be passed around instantly—even if someone spills their prosecco on it.
This whole process is why dye-sub is the go-to for 95% of professional photo booth operators. The prints are practically indestructible and fly out of the machine in under 15 seconds. When you’ve got a queue of excited guests at a wedding, that kind of speed and resilience is everything.
The Precision of Professional Event Inkjets
Now for the artist in the other corner. Professional event inkjets are less like a flash-heating process and more like a team of impossibly precise spray painters. They work by firing thousands of microscopic droplets of liquid ink onto the paper to build the image.
The results can be truly breathtaking. You’ll often see slightly richer colour depth and nuance, which can be a real showstopper for more artistic or corporate events where every detail matters. They also give you more flexibility with different paper types and finishes.
But this artistry comes with a trade-off. Inkjets are generally slower, and the prints come out ever so slightly damp, needing a few moments to fully dry. That little window of vulnerability is exactly when an excited guest is most likely to grab it and smudge the masterpiece. While they have their place—think a controlled gallery opening hosted by someone like Benedict Cumberbatch or a high-end corporate gig—they often struggle with the sheer volume and chaotic energy of a typical party.
Head-to-Head: The Verdict
So, who takes home the belt? Honestly, it depends entirely on the battlefield.
- For Speed and Durability (Weddings, Parties, High-Volume Events): Dye-sublimation wins by a knockout. There’s no contest. Its lightning-fast, touch-dry, laminated prints are purpose-built to survive the beautiful chaos of a live event.
- For Ultimate Colour Depth and Media Choice (Controlled, Low-Volume Events): Inkjet holds its ground. If stunning artistic quality is the only thing that matters and you have a calm, controlled environment, it’s a worthy contender.
Whichever path you choose, getting those colours just right is what separates the pros from the amateurs. For a fantastic deep dive into this, check out this guide on mastering color management in printing.
For the vast majority of photo booth gigs, though, the dye-sub printer is your trusty workhorse—the unsung hero that keeps the queue moving and the fun flowing all night long.
Decoding The Tech Specs That Actually Matter
Diving into a printer’s technical specifications can feel like trying to read ancient hieroglyphics. Pages of numbers and jargon can make your eyes glaze over, but hidden within that code are the secrets to a smooth, successful event. Forget the noise; let’s translate the A-list specs you actually need to care about.
These are the details that separate a professional, money-making setup from a frustrating amateur hour. Getting this right is the difference between a seamless performance and a technical meltdown in the middle of a wedding.
All About Print Speed
Picture the scene: there’s a queue of guests, props in hand, buzzing with excitement. The last thing you want is a printer that moves at a snail’s pace. In the world of photo booths, print speed is king, and every single second counts.
A printer that takes 30 seconds to produce a print might sound fast on paper, but after just ten groups, you’ve already created a five-minute bottleneck. A professional dye-sublimation printer, on the other hand, can churn out a 6×4 print in under 15 seconds. That’s the difference between keeping the party’s energy alive and watching the queue (and the fun) evaporate.
Sizing Up Your Prints
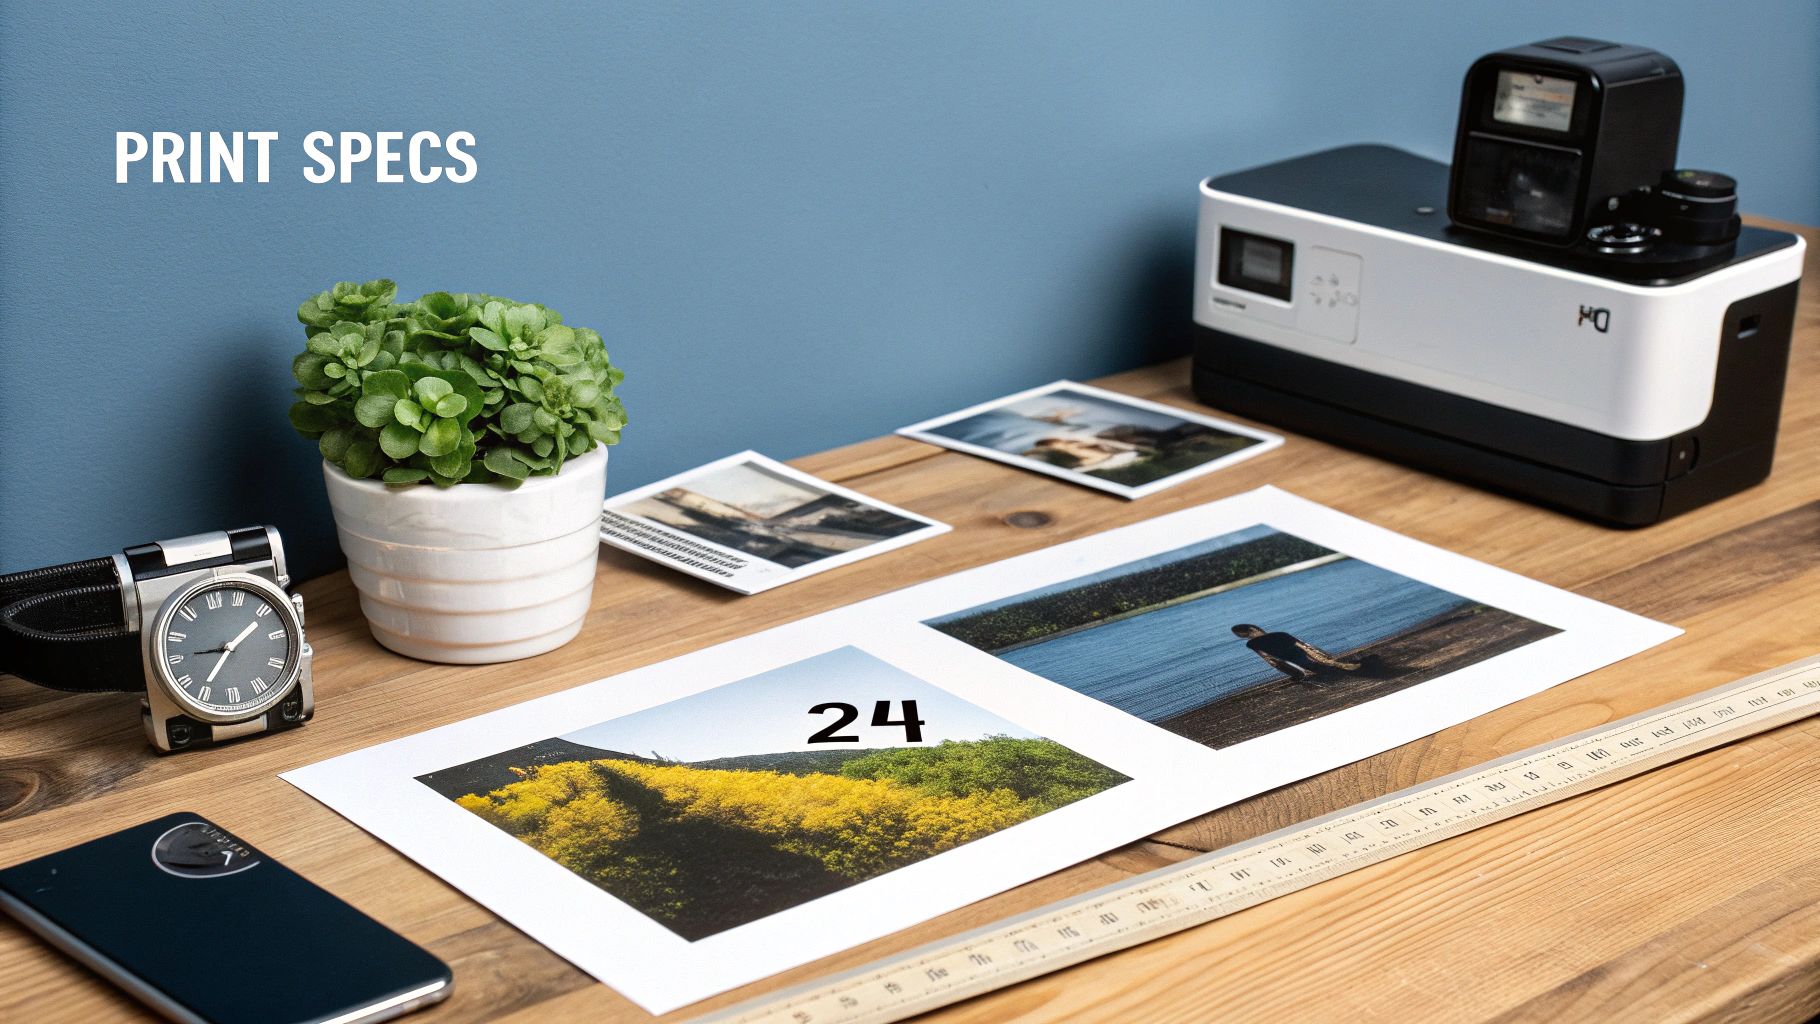
Next up is print size and media flexibility. While you might see all sorts of options, the photo booth industry lives and breathes two primary formats. Getting this right means guests receive the classic keepsake they’re expecting.
- Classic 2×6 Strips: This is the quintessential photo booth format. Most professional software will automatically slice a 6×4 print in half, producing two identical 2×6 strips from a single go. Perfect for sticking in guestbooks and handing out as party favours.
- Standard 6×4 Prints: A more modern, postcard-style option that gives photos more room to shine. This size is brilliant for corporate events where branding is key or for weddings where the couple wants a larger, more impactful memento.
Your printer should handle both with ease, giving you the versatility to cater to any client’s request, whether it’s for a Mamma Mia-themed hen do or a slick corporate launch party for a brand like Ryan Reynolds’ Aviation Gin.
The Truth About Resolution
You’ll see resolution measured in DPI (Dots Per Inch), and it’s easy to fall into the trap of thinking that a bigger number is always better. While that might be true if you’re printing a gallery-worthy landscape shot, it’s simply not the case for photo booth prints.
The industry standard for printers for photo booths is a crisp 300 DPI. This resolution is the sweet spot, delivering sharp, vibrant images that look fantastic when viewed from a normal distance. Anything higher is complete overkill.
Chasing a 600 or 1200 DPI printer is a waste of money and can even slow down your print times. Stick to the 300 DPI standard; it’s perfectly optimised for the job at hand.
Reliability: The Unsung Hero
Finally, let’s talk about connectivity and reliability. A printer that constantly disconnects or jams is a business killer. You need a workhorse, a machine with the dependable cool of Daniel Craig—it just works, no matter the pressure.
For rock-solid stability, a direct USB connection is still the undisputed champion. While Wi-Fi printing has its place, a physical cable eliminates the risk of network dropouts in a busy venue crowded with hundreds of smartphones. You also need to consider the printer’s duty cycle, which is the manufacturer’s rating for how many prints it can handle per month without strain. A high duty cycle means it’s built for the relentless demands of back-to-back events.
This reliability is crucial for UK-based operators, as the economics of the business depend on it. Market data shows equipment sales make up about 62% of photo booth market volume globally, and the UK is a top market for high-spec booths. Printer-related issues can cripple profitability, where costs can already represent 25–35% of the operating cost per booth. But getting it right pays off, as offering instant prints can boost hire rates by 15–25%. You can discover more insights about the photo booth market dynamics in recent reports.
Understanding the True Cost Per Print
That shiny new printer might seem like a steal, but its price tag is just the tip of the iceberg. The real, ongoing cost of running your photo booth lies in the consumables – the ink and paper that actually create the memories. This is where your profit margin is won or lost, so getting a solid grip on your cost-per-print is absolutely essential.
Think of it like buying a fancy coffee machine. The machine itself is a one-off cost, but the real expense comes from the endless supply of speciality pods it devours. For your printer, that “pod” is the media it churns through with every happy snap.
Nailing this calculation lets you price your packages with confidence, especially when you’re dangling the irresistible offer of ‘unlimited prints’. Get your sums wrong, and you could be losing money with every single photo strip your guests gleefully pocket.
Cracking the Consumables Code
When you’re working with professional printers for photo booths, particularly the dye-sublimation workhorses, consumables are a finely tuned system. This isn’t like nipping to the corner shop for a generic ink cartridge; it’s a different ball game entirely.
With dye-sub printers, you’ll buy your media in a kit, often called a “box of media”. This box contains two critical, perfectly paired components:
- A roll of special photo paper: This is the canvas where the magic happens.
- An ink ribbon cassette: This holds the solid ink that gets vaporised onto the paper.
These two parts are sold together as a matched set for a very good reason. The ink ribbon has exactly enough ink film—in precisely measured panels of cyan, magenta, yellow, and a final protective overcoat—to produce a set number of prints from the paper roll it came with. You can’t just mix and match brands or leftover bits. It’s like trying to run a car on the wrong type of fuel; it just won’t work.
A standard box of 6×4 media for a popular printer like the DNP DS620A usually contains two paper rolls and two ink ribbons. Together, this kit is engineered to produce exactly 800 prints. This brilliant predictability is the secret weapon of savvy photo booth operators.
This system takes all the guesswork out of the equation. You know that one £150 box of media will give you 800 prints, making your cost calculations beautifully simple and reliable.
How to Calculate Your Cost Per Print
Right, let’s get down to brass tacks. Calculating your cost-per-print (CPP) is the most important bit of business maths you’ll do, and thankfully, it’s dead simple.
The formula is just this:
Cost of Media Box / Number of Prints in Box = Cost Per Print
Let’s walk through a real-world example. Say you’re using a DNP printer and you buy a box of 6×4 media for £140, which you know will give you 800 prints.
- £140 / 800 prints = £0.175 per 6×4 print.
That’s just 17.5p a print! And since a classic 2×6 photo strip is simply a 6×4 print sliced in half, the cost for a pair of those iconic strips is also 17.5p. Suddenly, that ‘unlimited prints’ package doesn’t seem so terrifying, does it? You now have a concrete figure to build your pricing around, ensuring every event is a profitable one.
This kind of solid financial forecasting is crucial. The global photo booth market is already worth over USD 600 million and is expected to more than double by 2033. Here in the UK, we’ve often led the way in Europe, with enclosed booths—the type that relies on these predictable printers—forming the biggest chunk of the market. You can dive deeper into the growth of the global photo booth industry to see the bigger picture. In a market this hot, knowing your exact costs isn’t just good practice; it’s what separates the hobbyists from the pros.
Getting Set Up and Dodging Disasters at Live Events
A phenomenal printer is only half the battle. If it decides to give your photo booth software the silent treatment, it’s just an expensive, high-tech paperweight. Nailing the tech setup is the final boss fight between a silky-smooth event and a night of frantic, hair-pulling chaos. Think of this as your survival guide to channelling the cool, calm composure of a seasoned pro.
The journey from a camera flash to a happy guest holding a print should be so seamless they don’t even think about it. Let’s dig into the practicalities of setup, maintenance, and how to handle those inevitable mid-event hiccups with grace.
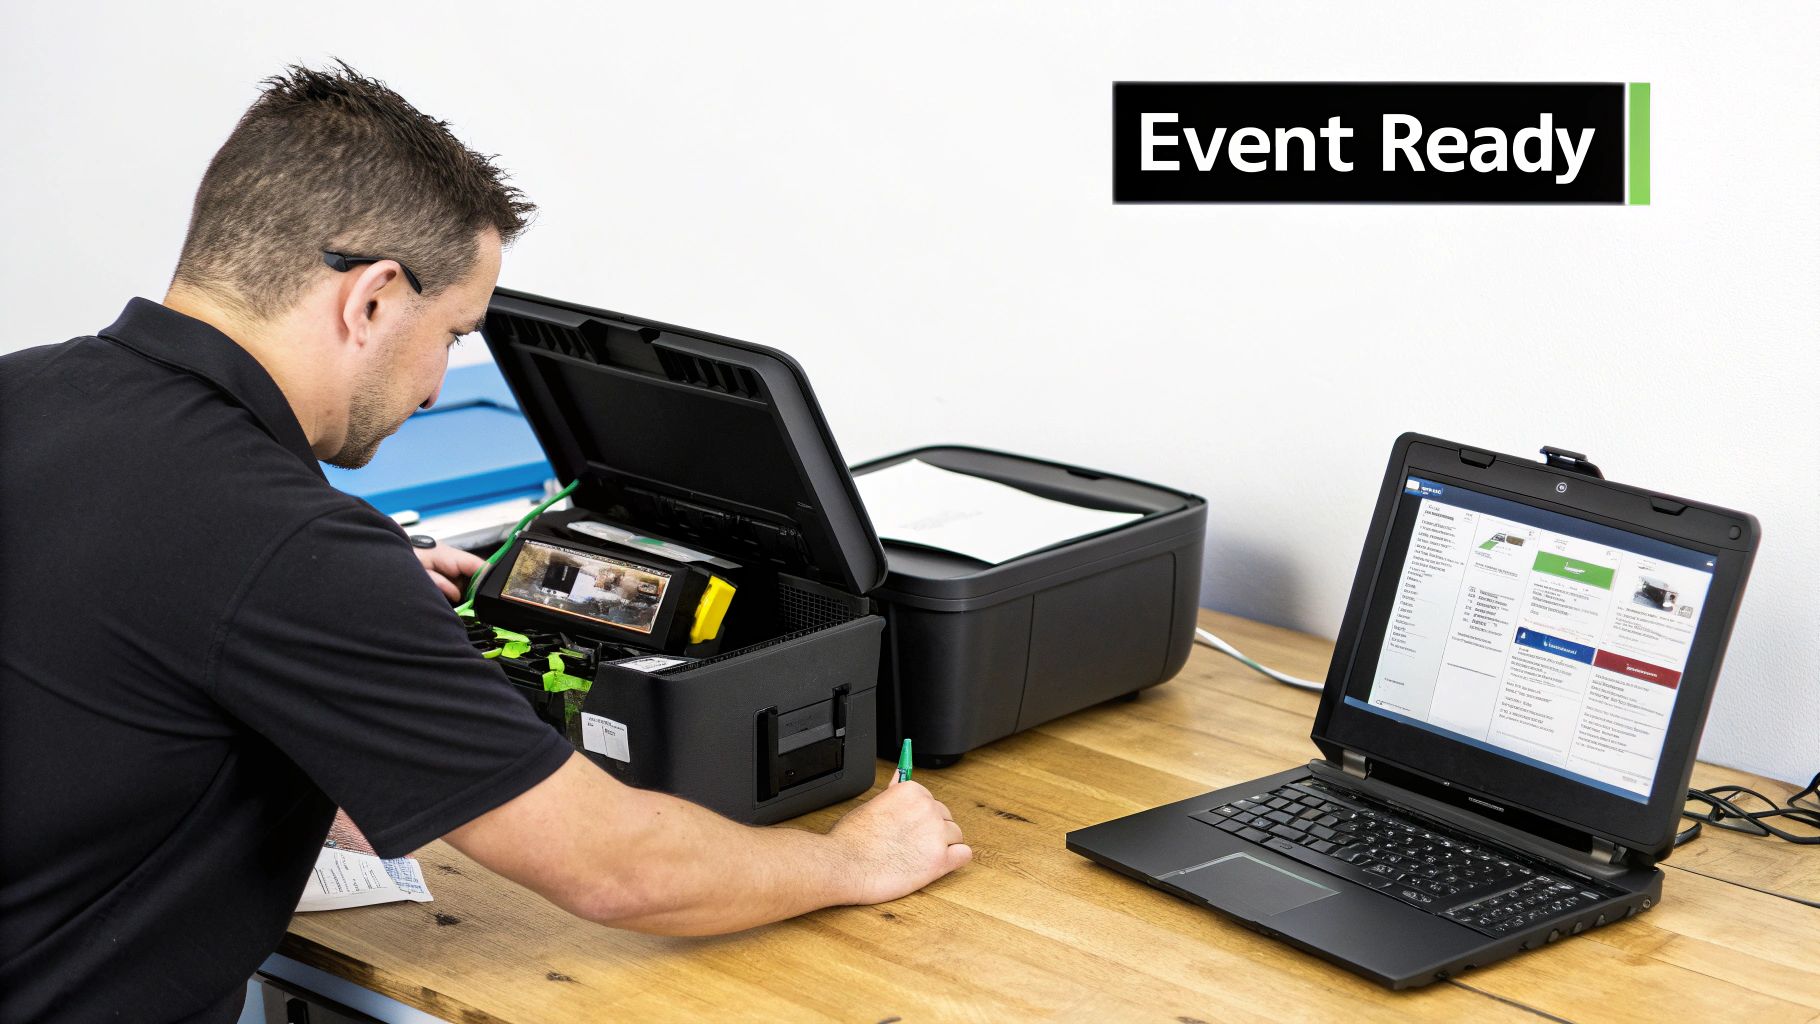
The Pre-Event Tech Rehearsal
Before you even think about loading the van, a full tech run-through is completely non-negotiable. This is more than just plugging things in and hoping for the best; it’s about making sure every piece of your puzzle fits perfectly before showtime. Trust me, a bit of prep now saves a world of embarrassment later.
Here’s your pre-flight checklist:
- Drivers, Drivers, Drivers: Get the right printer driver installed on the laptop or computer running the booth. Do this at home or in the office, not on-site with dodgy event Wi-Fi.
- Software Handshake: Now, run a full test. Fire up your photo booth software (like DSLR Booth or LumaBooth), connect the printer, and fire off a few test prints. Check everything – alignment, colour, speed, the works.
- Media Check: Load a brand-new roll of paper and a fresh ribbon before you leave. Critically, always pack at least one full spare set of everything. Running out of paper mid-reception is the ultimate rookie error.
- Cable Inspection: Give your USB and power cables a quick once-over. A dodgy cable is a ridiculously common (and infuriating) point of failure.
Mastering the Mid-Party Media Swap
Even the most bulletproof printers need a little love, especially during a packed event. The most common pit stop you’ll make is changing the media. It’s a simple process, but it can feel like bomb disposal when you have a queue of impatient guests watching your every move.
The secret to a stress-free media change? Practice. Seriously. Do it a dozen times at home until it’s pure muscle memory. When you can swap out a paper roll and ink ribbon in under 60 seconds without even thinking, you’ve hit the pro level required for live gigs.
Beyond the media swap, basic maintenance is mostly about keeping the print head clean. Many printers have their own cleaning cycles, but a gentle wipe with a proper print head cleaning pen or a lint-free cloth can fix annoying issues like faint lines appearing on your prints. Just be sure to follow the manufacturer’s guide to avoid causing any damage.
Common Problems and How to Fix Them (Without Panicking)
Let’s be real: no matter how well you prepare, things go wrong. A paper jam is inevitable, a connection will drop, or the prints will suddenly look… weird. Here’s how to troubleshoot with the confidence of a seasoned roadie.
| The Problem | The Likely Culprit | The Quick Fix |
|---|---|---|
| Printer’s Gone AWOL | Loose USB cable or a driver sulk. | First, unplug and firmly reconnect the USB cable at both ends. If that doesn’t work, a quick restart of both the computer and the printer usually forces them to talk again. |
| The Dreaded Paper Jam | The paper roll wasn’t loaded quite right, or there’s a tiny tear in the paper’s edge. | Pop open the printer door, gently remove the jammed paper, and reload the media. Make sure the roll is nice and taut and sitting correctly in its guides. |
| Colours Look Faded | The ink ribbon is either empty, wrinkled, or wasn’t loaded properly. | Open it up and check the ribbon. If it’s at the end of its roll, swap it out. If it’s just creased, smooth it out and carefully reload it. |
| Mysterious White Lines | A tiny bit of dust or debris has found its way onto the thermal print head. | Power the printer down. Carefully open it and give the print head a gentle wipe with a designated cleaning tool or an isopropyl alcohol wipe. Let it dry completely before powering back on. |
By knowing what to look for, you can turn a potential meltdown into a minor, two-minute fix that your guests will barely even notice.
Should You Buy or Hire Your Photo Booth Printer?
You’ve waded through the tech specs and crunched the numbers on print costs. Now you’ve arrived at the big-money question: do you buy your own printer, or just hire one as part of a package? This is the final showdown, and the right answer really boils down to who you are and what your plans are.
Getting this wrong is like buying a whole limousine just for your one-off school prom. Sure, it looks impressive, but it’s an expensive ornament when a sleek, chauffeured service would have been the smarter, stress-free move. Let’s break down who should buy and who should stick to hiring.
For the Wedding Warriors and One-Off Party Planners
If you’re a couple planning your dream wedding or you’re organising a mate’s milestone birthday bash, the answer is refreshingly simple: hire, hire, hire. Honestly, it’s a no-brainer. Splashing out on a professional-grade printer for a single event is financial madness.
Think about it for a second. A truly reliable dye-sublimation printer will set you back hundreds, if not thousands, of pounds. On top of that, you’ve got to buy the specific paper and ribbon, learn the software, and figure out the entire setup on the day. And what happens if it jams halfway through the reception? You instantly become the designated IT support instead of enjoying the party.
Hiring a photo booth package is like having a VIP pass to a stress-free experience. A professional company handles everything: the printer, the media, the setup, and usually a friendly attendant to sort out any issues. You can just focus on making memories, not wrestling with technology.
It’s the Idris Elba chauffeur option: smooth, professional, and guaranteed to deliver a flawless experience without you lifting a finger. Your job is to have a brilliant time; their job is to make sure the tech works perfectly.
For the Corporate Event Maestros and Business Owners
Now, if you’re a corporate event planner, a marketing agency, or a venue owner who hosts events week in, week out, the conversation changes completely. For you, purchasing your own printers for photo booths could be a seriously savvy long-term investment.
Owning the hardware gives you ultimate control and flexibility. You can fully integrate it into your permanent setups, brand the equipment however you like, and deploy it at a moment’s notice for client events, product launches, or trade shows.
The key here is return on investment (ROI). After a certain number of events—let’s say ten to fifteen—the printer will have effectively paid for itself when you compare its cost to what you would have spent on repeated hires. From that point on, every event you use it for significantly boosts your profit margin. It requires a bigger upfront cost and a commitment to learning the ropes of maintenance, but the long-term financial rewards can be huge. To make an informed decision on buying vs. hiring, it’s helpful to understand the general criteria for selecting what to look for in event equipment.
So, the verdict is pretty clear. For a singular, unforgettable event, hiring is the smart, stress-free path. For the serious professional planning a calendar packed with events, buying is a powerful investment in your business’s future.
Frequently Asked Questions
Still got a few questions whirring around your head? That’s completely normal. Picking the right printer is a big deal, so let’s clear up some of the common head-scratchers and get you feeling confident.
What’s the Best All-Rounder for a Photo Booth?
Honestly, for any serious photo booth setup, a dye-sublimation printer is the undisputed king of the castle. Think of brands like DNP or Mitsubishi; they’re the workhorses of the industry for a reason. They are ridiculously fast, almost frighteningly reliable, and churn out prints that are instantly dry and tough enough to survive a drink spill.
These printers are built for the battlefield of live events. Their rock-solid cost-per-print and sturdy design mean you can smash through back-to-back gigs without even breaking a sweat.
How Many Prints Will I Get from One Box of Supplies?
This really comes down to the printer model and the specific media pack you buy. You absolutely have to make sure the paper and ribbon are a perfect match for your machine.
Let’s take a crowd favourite, the DNP DS620, as an example. A standard box of its media for 6×4 inch prints gives you 400 prints per roll. Since you get two paper rolls and two ink ribbons in the box, that’s a whopping 800 prints in total. This beautiful predictability makes pricing your events an absolute doddle.
It’s a bit like a professional baker knowing exactly how many cupcakes one batch of ingredients will make. You get total clarity, which is essential for working out your profits and making sure you don’t run out of paper just as the party is getting good.
Can I Just Use My Normal Home Printer?
Look, technically you could. But it would be a catastrophically bad idea, like turning up to a Grand Prix in a Fiat Panda. You’re just not going to have a good time.
Your standard home inkjet printer is painfully slow, which is the fastest way to create a massive, vibe-killing queue at your booth. The prints aren’t durable, they smudge if you look at them funny, and the cost for each photo will make your eyes water. Investing in a proper event printer is an investment in speed, quality, and your hard-earned reputation.