Welcome to the electrifying world of gel lights photography. If you’ve ever wanted to turn run-of-the-mill event photos into something truly cinematic, this is your secret weapon. Think of it as painting with light—you simply pop a coloured filter, known as a gel, over your flash or light source to drench a scene in a specific hue. It’s a surprisingly simple trick that delivers those unforgettable, mood-drenched visuals seen in portraits of stars like Billie Eilish.
What Is Gel Lights Photography
At its heart, gel lights photography is a creative lighting technique that uses thin coloured sheets (gels) over light sources to completely change their colour. It’s the magic behind the dramatic, atmospheric lighting you see at a Taylor Swift concert or in Beyoncé’s iconic portraits.
This isn’t about just throwing random colours around for the sake of it. It’s about deliberately crafting an atmosphere, guiding the viewer’s eye, and telling a powerful visual story without uttering a single word.
Instead of just being a passive observer documenting an event, you become its visual director. By picking your colours carefully and placing your lights strategically, you can transform a bland conference hall into a dynamic, high-energy launchpad or a simple wedding venue into a romantic, ethereal wonderland. It gives you, the photographer, total control over the emotional tone of an image.
The Power of Painting with Light
Gel lighting is all about being intentional. You’re no longer at the mercy of the dodgy overhead lighting in a venue; you are actively creating the exact environment you want to capture. This level of creative control is precisely what separates a quick snap from a professional photograph.
The real magic of gel lights photography is its power to stir emotion. A cool blue wash can create a feeling of calm or mystery, while a splash of vibrant red can inject pure energy and passion into a scene. It’s the same way a film director uses colour grading to set the mood of a movie.
This technique is your ticket to:
- Building a specific mood: Make a corporate launch feel futuristic and slick, or a birthday bash feel warm and celebratory.
- Guiding the audience’s focus: Use a pop of contrasting colour to make a keynote speaker or a newly married couple stand out from the background.
- Enhancing brand identity: Drenching an event space in a company’s signature colours creates a branded experience that’s impossible to ignore.
Ultimately, getting to grips with gel lights will elevate your event photos from just memorable to genuinely unforgettable. Event specialists like Harry & Edge provide the perfect lighting kits to help you nail these stunning results at any UK wedding, party, or corporate launch, making sure your creative vision comes to life without a hitch.
4. Creative Gel Lighting Techniques for Unforgettable Events
So, you’ve got your lights, you’ve got your gels, now what? This is where the real fun begins. Using coloured gels isn’t just about making things look pretty; it’s about becoming a storyteller, a mood-setter, a visual magician. A little bit of colour theory is your secret weapon, turning your event photos from simply ‘good’ into something truly unforgettable.
Think of the colour wheel not as a boring art class diagram, but as your playbook for creating emotion.
Creating Drama with Complementary Colours
Want your subject to leap out of the photo? You need to think in opposites. Colours that sit across from each other on the wheel, like blue and orange, are called complementary colours. When you put them together, they create a visual energy that’s impossible to ignore. It’s a trick filmmakers have been using for decades.
One of the most classic pairings is teal and orange. It’s practically a Hollywood signature! Why? Because it’s brilliant at separating warm human skin tones from cool, atmospheric backgrounds.
Imagine this: you’re at a corporate launch party. Place a light with a teal gel aimed at the wall behind the CEO. Then, use a clean, white light (or one with a very subtle orange gel) as your main light on their face. Instantly, they pop. You’ve created depth, drama, and a seriously professional-looking portrait right in the middle of a busy event.
Setting the Mood with Analogous Colours
Of course, not every event needs high-stakes drama. For weddings, anniversaries, or any romantic affair, you want to create a feeling of harmony and warmth. That’s where analogous colours come in – these are the friendly neighbours on the colour wheel that sit right next to each other.
Think reds, pinks, and purples blending together seamlessly. Or a beautiful sunset wash of oranges and yellows. These combinations feel natural and are incredibly pleasing to the eye.
Picture a couple’s first dance. You could bathe the background in a soft magenta, then add a hint of red as a backlight to catch the edge of their hair and shoulders. The effect is dreamy, romantic, and immersive. It feels like you’ve stepped right into a scene from La La Land starring Ryan Gosling and Emma Stone. You’re not just taking a photo; you’re capturing a feeling.
To help you get started, here’s a quick-reference guide for pairing moods with gel colours. Think of it as your cheat sheet for painting the perfect atmosphere at any event.
Event Mood and Gel Color Pairing Guide
This table will help you select the perfect gel colour combinations to create specific event atmospheres and emotional impacts.
| Desired Mood | Primary Gel Color | Accent Gel Colour | Real-World Example |
|---|---|---|---|
| Energetic & Modern | Electric Blue | Magenta/Hot Pink | A tech product launch or a high-energy DJ set. |
| Romantic & Dreamy | Soft Pink | Lavender/Purple | A wedding reception’s first dance or a Valentine’s gala. |
| Luxurious & Elegant | Deep Amber/Gold | Rich Red | An awards ceremony or a sophisticated corporate dinner. |
| Futuristic & Bold | Teal | Orange/Yellow | Replicating a Blade Runner vibe for a brand activation. |
| Vibrant & Festive | Green | Yellow | A summer party, a festival-themed event, or a brand launch with a natural/eco focus. |
Remember, these are just starting points! The real magic happens when you start experimenting and finding the combinations that tell your unique story.
The key is to always choose your colour palette with purpose. You’re not just lighting a room; you’re crafting an experience. By understanding how to explore neon lighting effects, you can add another layer of dynamic, vibrant storytelling to your work, transforming any space into a scene people won’t forget.
Your Essential Gel Photography Gear Guide
Diving into gel photography feels a bit like unlocking a secret level in a video game—suddenly, a whole new world of creative possibilities opens up. But to play, you need the right controller. Getting your gear sorted is the first real step to turning those vibrant ideas in your head into jaw-dropping images. The good news? You don’t need a lorry full of Hollywood-level kit to create stunning, mood-drenched photos.
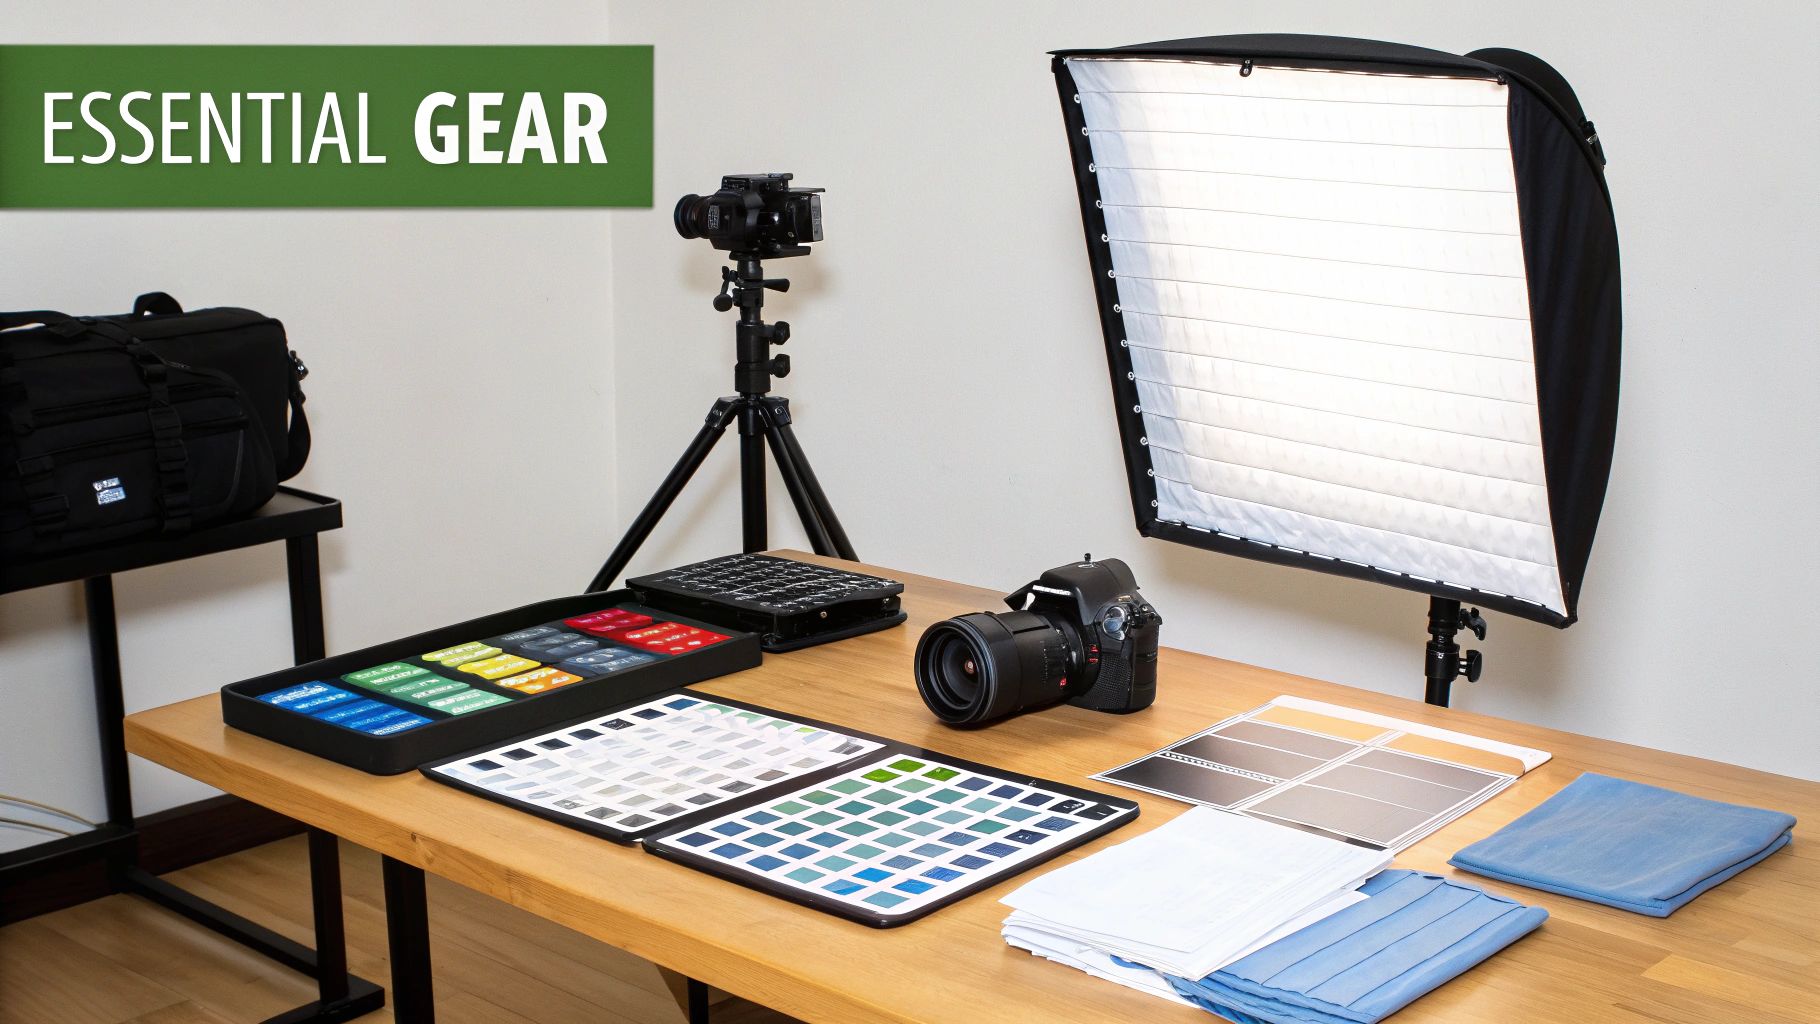
Let’s cut to the chase: the single most important piece of gear in your arsenal is, you guessed it, your lights. While you can technically slap gels onto old-school tungsten lights, modern LED panels are the undisputed champions for event photography in the UK. They run cool to the touch, which means you won’t melt your precious gels or accidentally create a fire hazard. That’s a massive plus for your peace of mind and everyone’s safety.
This shift to LEDs has been a game-changer, making creative lighting way more accessible. As the professional photography sector has grown, so has the availability of gel-compatible lighting. In fact, LEDs now make up more than 65% of bulb sales in the UK and are set to hit nearly 85%. This means most venues and photographers are already working with LED systems that are practically begging to be paired with coloured gels for some incredible effects.
Choosing Your Colours and Controls
Got your lights sorted? Brilliant. Now for the fun part: the gels themselves. These thin sheets of coloured polycarbonate or polyester come in a couple of main flavours, each with its own perks.
- Pre-cut Gel Kits: Absolutely perfect if you’re just starting out. These kits usually include a great selection of popular colours, all conveniently sized to fit standard flashes or small LED lights.
- Gel Sheets: For the control freaks among us (and I say that with love!), larger sheets offer ultimate flexibility. You can cut them down to fit any light source, from massive LED panels to tiny, hidden accent lights.
But hold on. Just sticking a gel on a light and hoping for the best won’t get you very far. You need to tell that coloured light where to go, and that’s where light modifiers become your best mates. A softbox will spread the light out, creating a gentle, dreamy wash of colour that’s perfect for backgrounds. On the flip side, a grid will focus the beam into a tight, dramatic slash of colour—fantastic for creating a sharp edge light that makes your subject pop.
“Mastering gel photography is less about the gear you have and more about how you control the light it produces. A simple gel and a grid can create more drama than a dozen uncontrolled lights.”
Nailing the Shot in Camera
Finally, let’s get into the nitty-gritty of your camera settings. When you’re playing with gels, the most critical setting by a country mile is your white balance. If you leave it on auto, your clever camera will try to ‘correct’ all those gorgeous colours you’ve meticulously crafted, turning your masterpiece into a muddy, neutral mess.
To stop this from happening, you need to set a custom white balance. The aim here is to make sure your subject’s skin tones look natural, even if they’re swimming in a sea of vibrant blues or reds. A classic pro trick is to have one clean, un-gelled white light (your key light) on your subject, and then set your custom white balance based on that light. This basically tells your camera, “Hey, this is what a person should look like,” which allows all the colourful background and accent lights to be captured in their full, vivid glory, exactly as you planned.
Right, let’s get our hands dirty. You’ve got the theory down, but now for the fun part: turning that knowledge into jaw-dropping photos. Armed with a few gels and a bit of creative flair, you can completely reshape the look and feel of an event space.
I’m going to walk you through three of my favourite, tried-and-tested lighting setups. These are the kinds of techniques that will not only make your portfolio sing but will have your clients raving.
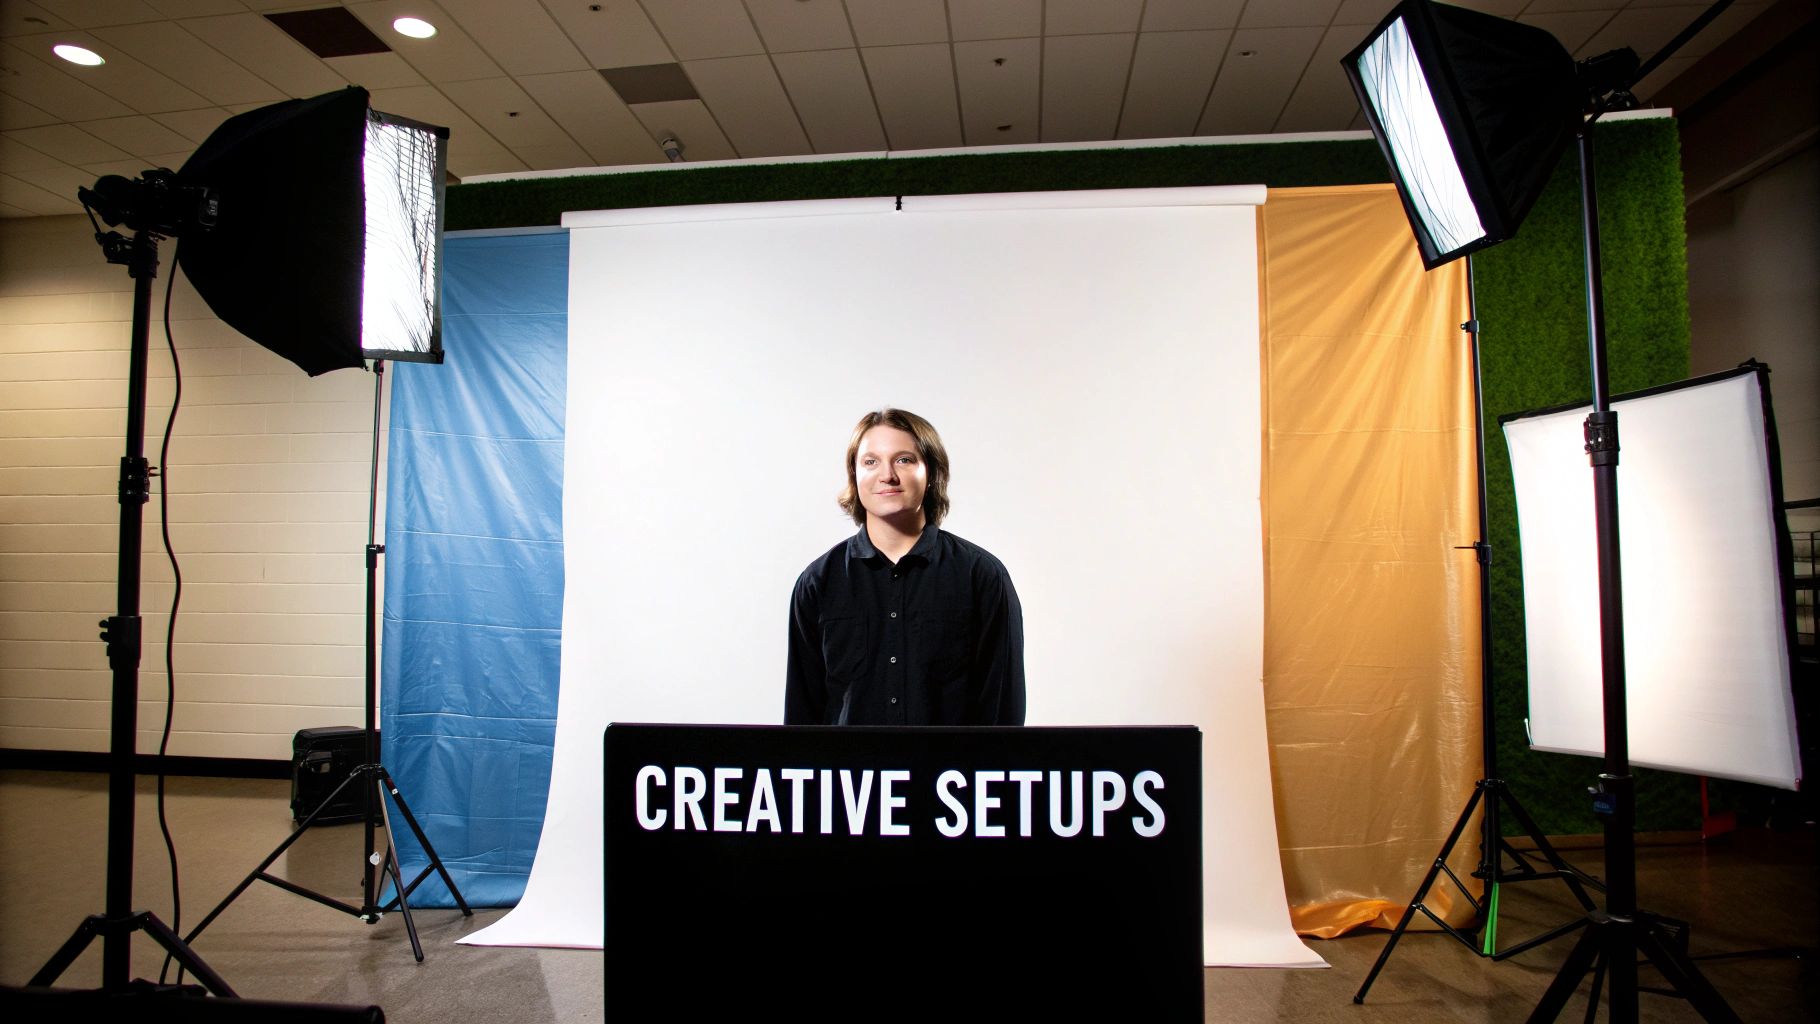
Don’t worry, these aren’t rigid formulas. Think of them as starting points you can adapt for anything from a swanky corporate gala to an intimate wedding or a wild birthday bash. Each one leans on gel lights photography to cook up a specific atmosphere and make your subjects look like absolute rock stars.
Setup 1: The Colour Wash Backdrop
Ever walked into a product launch and felt completely immersed in the brand’s world? Chances are, you were experiencing a Colour Wash. It’s a beautifully simple but powerful trick for painting a whole space with light and setting a definitive mood right from the get-go.
Here’s how it works: grab one or two gelled lights—LED panels are brilliant for this because of their wide, soft throw—and aim them at a plain wall behind your main photo spot. The key is to point the lights away from people and onto the background. This drenches the wall in a rich, saturated colour, creating a stunning canvas without making your guests look like they’ve got a weird tropical disease. It’s perfect for adding drama behind a speaker or an awards stage.
Setup 2: The Dynamic Edge Light
This one is pure Hollywood. It’s the secret sauce behind those razor-sharp, almost 3D portraits of stars like Dua Lipa or Harry Styles. The Dynamic Edge Light (you’ll also hear it called a rim or kicker light) uses a punchy, contrasting colour to trace your subject’s silhouette, literally carving them out from the background.
To pull this off, you’ll need to place a gelled light behind your subject and slightly off to one side, pointing back towards your camera. You’ll want to control that beam, so pop a grid or a snoot on the light to keep it tight. When that sliver of electric blue or hot magenta catches the edge of someone’s hair and shoulders, it creates this incredible glowing outline. They just pop.
This technique was a favourite of legendary photographer Annie Leibovitz for her iconic celebrity portraits. The edge light adds a layer of sophistication and drama that immediately draws the viewer’s eye, making the subject appear powerful and defined.
Setup 3: The Subtle Accent
Look, not every event needs a full-on colour assault. Sometimes, the most sophisticated gel lights photography is all about subtlety and restraint. This technique is about using small, controlled pops of colour to pick out interesting details in a venue, adding layers and intrigue without shouting about it.
Picture a wedding reception in a gorgeous old building. You could use a small spotlight with a warm amber gel to gently kiss an ornate archway or highlight some beautiful old pillars. At a party, maybe you’d tuck a few small gelled lights behind the floral arrangements or under the cake table to give them a magical glow.
It’s these little touches that build a rich, textured atmosphere that feels amazing in person and looks even better in the final photos. And if you want to push that creativity even further post-shoot, you can explore ways to create unique pop art from your photos, turning your beautifully lit shots into something else entirely.
Why Working with Event Specialists is a Game-Changer
So, you’ve got this brilliant idea for your event photos. Maybe it’s a David Bowie-inspired lightning bolt of colour, or a moody, cinematic feel for a product launch. That’s the fun part. But bridging the gap between that killer concept and actually pulling it off? That’s where the pros come in.
Bringing in an event hire specialist isn’t just about renting some gear. It’s about bringing in a technical partner who lives and breathes this stuff. They’re the ones who worry about the nitty-gritty details so you don’t have to, ensuring your vision comes to life safely and looks absolutely spectacular.
More Than Just a Pretty Picture
Think of it like making a film. You’re the director with the vision, and the photographer is your cinematographer. The event specialist? They’re the entire lighting and electrical department, all rolled into one. Their job is to make sure the technical side of things is so smooth, you forget it even exists.
Here’s a taste of the behind-the-scenes magic they handle:
- The Power Play: They’ll check out the venue’s electrics to make sure your lighting rig, the DJ’s sound system, and the caterer’s ovens can all play nicely together without tripping a fuse halfway through the CEO’s big speech.
- Safety First (and Second, and Third): Every single piece of kit, from the biggest LED panel down to the humble extension lead, has to be PAT-tested (Portable Appliance Testing). This is a non-negotiable safety requirement in the UK to certify that the equipment is safe for public use.
- Rigging it Right: These specialists know precisely how to hang lights from trusses, mount them on stands, or even use the venue’s own architecture to get the perfect angle, all while making sure everything is completely secure.
The good news? Modern LED lighting has made even the most ambitious setups more achievable than ever. Most professional suppliers now use luminaires (the all-in-one light fixtures) that are overwhelmingly LED-based. This means they’re energy-efficient, reliable, and react beautifully and predictably with coloured gels, giving you consistent results without a drama. You can learn more about the market shift towards these advanced fixtures.
The real magic happens when you, your photographer, and a lighting specialist all work together. It’s how you get that perfectly lit, celebrity-style shot of the happy couple or a keynote speaker that looks like they’ve stepped right out of a glossy magazine.
At the end of the day, hiring a specialist is about buying peace of mind. It guarantees that your creative ambition is backed by solid technical expertise. It lets you and your photographer focus on what you do best—capturing those unforgettable moments—while they turn your chosen UK venue into a cinematic masterpiece.
Got Questions About Gel Lighting? Let’s Talk.
Jumping into the world of gel lighting can feel a bit like you’re trying to learn a new language, but I promise it’s simpler than it sounds. To help cut through the confusion, I’ve rounded up the most common questions we get asked. Let’s bust a few myths and get you ready to create something incredible.
Will Coloured Gels Make My Guests Look… Weird?
This is the number one fear, and thankfully, it’s a total myth—at least, when you do it right. The secret is that professionals never use coloured light as the main light source on people. You always, always have a clean, white ‘key light’ on your guests to make sure their skin tones look natural and fantastic.
The coloured gels are for painting the background. They’re for creating those stunning edge lights that make your subjects pop. Picture Zendaya on the red carpet: the main spotlight on her is pure white, but the background might be washed in deep blues or purples for drama. The colour creates the atmosphere, not an alien-like tint on her face.
Can I Just Slap These Gels on Any Old Light?
Nope, definitely not. This is a big one, especially when it comes to safety. You should only ever use gels with LED lights. Older lights, like tungsten or halogen bulbs, get ridiculously hot. I’m talking hot enough to melt plastic gels in an instant, which is a serious fire risk you can’t afford to take at a public event.
Modern LED panels, which are the standard for events here in the UK, run cool to the touch. This makes them the safest, most reliable, and most efficient choice for creative gel lights photography. You get all the fun of colour without any of the danger.
How Do I Pick Colours That Match My Company’s Brand?
Great question! Using gel lighting is a fantastic way to immerse guests in your brand’s world. Start with your official brand guidelines. Take your primary colour and use it to drench the space in a massive background wash. It’s an instant statement.
Then, pick a secondary or complementary colour to use as a sharp accent light. This creates that visual pop and energy. For example, if your brand is that iconic Tiffany & Co. blue, you could wash a back wall in that signature colour and use a crisp white or a dynamic orange edge light for portraits. A good event specialist can even match gels to your brand’s specific Pantone codes to get it spot on.
Is This Kind of Lighting Just for Huge, Over-the-Top Parties?
Not at all! This is one of the biggest misconceptions out there. While gels are brilliant for creating that high-energy, high-impact look for a massive corporate gala or a wild party worthy of Cardi B, they are also incredibly versatile.
You can use gels with amazing subtlety to add warmth and romance to an intimate wedding. A simple amber gel can make a huge room feel cosier, or a soft pink wash behind the head table can create a beautiful, romantic glow. It’s a powerful tool for enhancing the mood of any event, big or small. Sometimes, just a little touch of colour makes all the difference.