Ever flicked through event photos of stars like Zendaya or Harry Styles and wondered how they look so unbelievably good? A massive part of that magic comes down to one surprisingly simple tool: photography lighting gels. These aren’t just bits of coloured plastic; they’re your secret to turning flat, boring light into an atmosphere that pops, making even subjects like Dwayne “The Rock” Johnson look their best.
Why Lighting Gels Are Your Best Kept Secret
Let’s skip the dense, technical fluff and get straight to the point. Think of gels as an instant mood switch for your lighting. They’re what let you paint a space with emotion, whether you’re aiming for romantic, high-energy, or super-sophisticated. This is how you start capturing those vibrant, pro-level shots that make everyone, from Margot Robbie to Leonardo DiCaprio, look and feel like they’re on the red carpet.
Whether it’s a swanky corporate launch or a dreamy wedding, the right light changes everything. Gels hand you the creative reins, letting you control the entire feel of a room and ensuring your photos truly capture the vibe you’ve spent ages planning.
Taking the Vibe to the Next Level
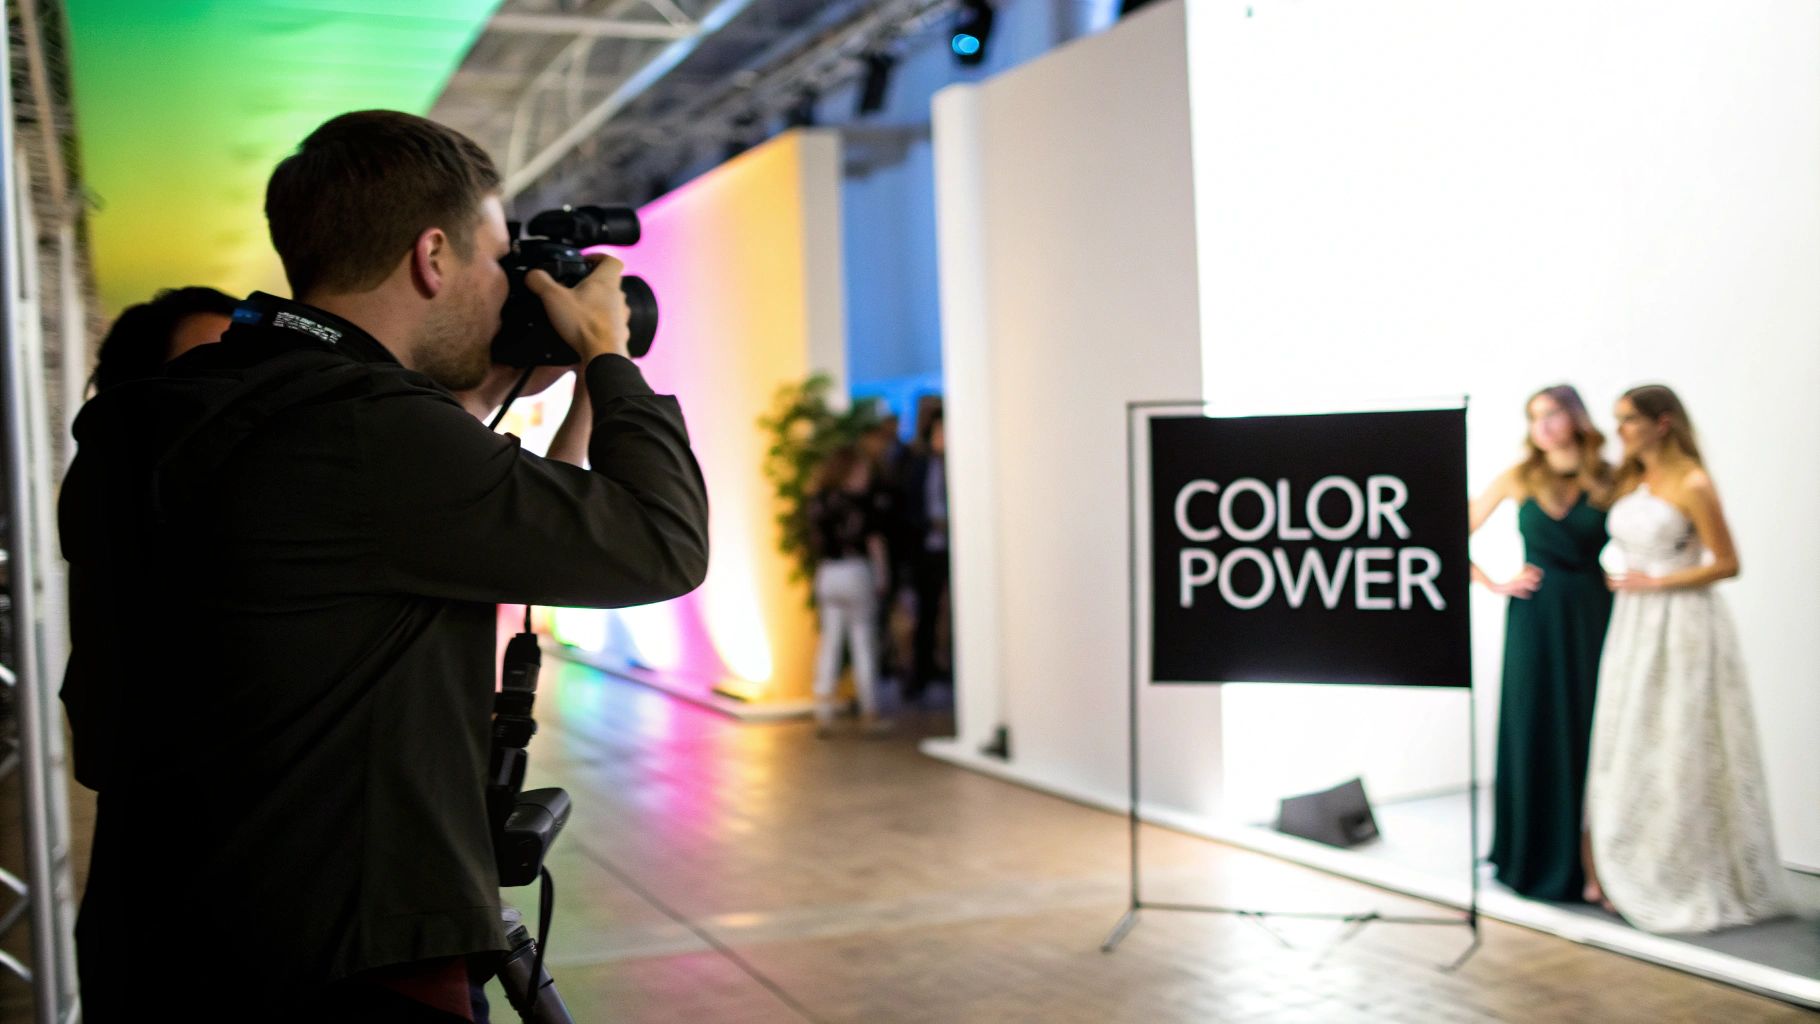
Great event photography is all about the little details. You might have a spectacular backdrop for a photoshoot, but it’s the lighting that will make it sing. Gels are what let you literally paint with light, turning a dull wall into a work of art or softening a harsh flash to create beautifully flattering portraits worthy of a superstar like Beyoncé.
Here in the buzzing London event scene, where we at Harry & Edge have been crafting unforgettable experiences since 2012, gels are a non-negotiable part of our toolkit. They create those jaw-dropping, “must-share” moments. It’s no surprise the LED lighting industry, where gels play a huge role, is exploding—it’s projected to hit a UK market size of USD 3.04 billion in 2026. This isn’t just a trend; it’s a fundamental part of modern event design.
The real magic of gels is in the stories they help you tell. A wash of warm amber can make a wedding feel intimate and romantic. A slick, cool blue can give a brand launch featuring someone like Chris Hemsworth that sharp, modern edge. You’re not just adding colour; you’re shaping emotion.
What Gels Actually Do for Your Photos
At the end of the day, using gels is all about bringing an artistic vision to life. You don’t have to be a seasoned pro like Annie Leibovitz to start experimenting. Once you get the hang of them, a whole new world of creativity opens up.
Here’s a quick rundown of what they can do:
- Set the Scene: Instantly dial in the mood to perfectly match your event’s theme.
- Fix Pesky Lighting: Got a mix of weird light sources? Gels can colour-correct your flash to get natural-looking skin tones.
- Stay On-Brand: Splash a company’s signature colours across the venue for a cohesive, professional look.
- Create Drama: Go for bold, cinematic effects that make your photos impossible to ignore.
Picking the Perfect Gels for Your Big Event
Diving into the world of photography lighting gels can feel a bit like staring at a massive wall of paint swatches. So many colours, so much potential! But where do you even start? Let’s cut through the noise. You’re really only dealing with three main families of gels, and each one has a specific job to do when it comes to making your event photos pop.
The Problem Solvers: Colour Correction Gels
First up are the workhorses: colour correction gels. These are the unsung heroes of event photography, the ones that make sure skin tones look natural and not like something out of a sci-fi film. You’ll mainly hear about two types: CTO (Colour Temperature Orange) and CTB (Colour Temperature Blue).
Picture this: you’re shooting an event with Jennifer Lawrence in a hall lit by those horribly cool, bluish fluorescent office lights. If you fire a bare flash, your subjects will look like they’re auditioning for a zombie movie. Slap a CTO gel on that flash, though, and it warms the light right up, matching the ambient gloom and giving everyone a healthy, natural glow.
On the flip side, if you’re in a cosy, lamp-lit room full of warm tungsten light, your flash will look stark and cold by comparison. A CTB gel cools your flash’s output down, blending it seamlessly into the warm atmosphere. It’s all about tricking the camera into seeing clean, true-to-life colours.
The Fun Stuff: Colour Effects Gels
Now we get to the really creative part: colour effects gels. This is your playground. We’re talking deep reds, electric blues, vibrant magentas, and luscious greens. These are the gels that let you paint with light and drench your scene in mood and emotion, perfect for capturing the energy of a performer like Lady Gaga.
Think about the vibe of the event. A bold, fiery red can inject a shot of pure energy into a corporate product launch, while a soft, dreamy pink can add a touch of fairytale romance to a wedding’s first dance. These are the tools that create those striking, unforgettable images that stop people from scrolling.
The secret to using vibrant gels isn’t to just blast your main subject with a harsh green. It’s about subtlety and placement. Use that colour to wash a background wall, create a coloured rim light for a dramatic, cinematic feel, or add an unexpected splash of personality to an otherwise plain scene.
Softening the Blow with Diffusion
Finally, we have diffusion. These gels aren’t coloured, but they are absolutely essential. Think of them as a portable, personal cloud for your flash. These semi-opaque sheets take harsh, direct light and soften it beautifully.
They kill sharp, unflattering shadows and create a gentle, wrapping light that’s perfect for portraits. If you want your subjects, like George Clooney, to have smooth, glowing skin without looking like they’ve been caught in a car’s headlights, a diffusion gel on your key light is non-negotiable.
For anyone planning an event, understanding these gels is key. Wedding couples and marketing teams should know that correction gels fix weird white balance issues, diffusion gels can soften light by 40-60% for flattering portraits, and coloured gels are perfect for adding those thematic pops of personality.
It’s also worth noting that with UK regulations pushing venues towards LED lighting, most event hires now prioritise systems that play nice with gels. This is great news, as it cuts heat-related discomfort by a whopping 70% compared to the old, dangerously hot incandescent lights. You can find more detail on these market trends in industry reports like those on verifiedmarketresearch.com.
Before you buy, think about the material. Most gels are a tough polycarbonate, but if you’re using them on lights that get seriously hot, you absolutely need to grab the high-temperature versions. The last thing you want is a melted, sticky mess halfway through the evening.
With these basics under your belt, you’re all set to choose the perfect photography lighting gels to match any theme and make every shot a stunner.
Quick Guide To Popular Photography Gels
To make it even simpler, here’s a quick cheat sheet for the most common gels you’ll come across and what they’re best used for.
| Gel Type | Common Name | Primary Use | Best For Events Like |
|---|---|---|---|
| Correction | CTO (Colour Temp Orange) | Warming up flash to match tungsten or warm ambient light. | Weddings, conferences, indoor parties, historic venues. |
| Correction | CTB (Colour Temp Blue) | Cooling down flash to match daylight or cool fluorescent light. | Daytime corporate events, venues with large windows, outdoor shoots. |
| Correction | Plus/Minus Green | Removing the green cast from fluorescent lights. | Offices, warehouses, older conference centres. |
| Effects | Primary Red, Blue, etc. | Adding a bold, saturated colour for dramatic effect. | Product launches, high-energy parties, themed events. |
| Effects | Lighter Pinks, Ambers | Adding subtle mood and romance to a scene. | Weddings, anniversary parties, intimate gatherings. |
| Diffusion | Frost, Opal, Silk | Softening hard light sources to reduce shadows. | Any event with portrait booths or close-up shots. |
This table should give you a fantastic starting point. The best way to learn, though, is to grab a variety pack and just start experimenting
Getting Gels on Your Lights Like a Pro
Right, let’s get our hands dirty. You’ve picked out your gels, and now it’s time for the fun bit – actually getting them onto your lights without them melting, sagging, or just looking like a dog’s dinner. It’s a lot simpler than it looks, and with a few tricks of the trade, you’ll be mounting gels with the confidence of a seasoned roadie.
First things first, let’s talk tools. You don’t need a massive flight case full of gear, but a few key items will make your life infinitely easier.
- Heat-Resistant Tape: Don’t even think about using standard gaffer tape on a hot light. It’ll leave a gooey, sticky mess or, worse, just melt. Proper heat-resistant tape (often called gel tape) is your best mate here. It’s a non-negotiable part of the kit.
- Clips and Pegs: Simple wooden clothes pegs or metal binder clips are fantastic. They’re perfect for quickly slapping a gel onto barn doors or the edge of a softbox. Cheap, fast, and surprisingly secure.
- Gel Holders: Many professional strobes come with dedicated gel holders. These are purpose-built frames that slot straight onto the front of the light. If your light has one, for goodness’ sake, use it! It makes swapping colours a breeze.
Sizing Up and Snipping Your Gels
Before you go slicing into a fresh sheet, hold it up to your light. You’re aiming for a piece that’s big enough to cover the entire face of the light, but not so big that it’s flapping about in the breeze. A good rule of thumb is to leave a little border, maybe a centimetre or two, around the edges for taping or clipping.
Wasting gel is like chucking fivers in the bin. If you’re working with smaller lights like speedlights, you can often get several cuts from a single sheet. Measure twice, cut once! And a quick tip: try to handle the gels by their edges to keep greasy fingerprints off the centre.
A clean, flat gel is the secret to a professional look. Any wrinkles or creases will create bizarre, uneven patterns in your shot – not the kind of “creative effect” you want when photographing someone like Dua Lipa at a brand launch.
Mounting Techniques for Different Lights
How you stick the gel on depends entirely on what you’re lighting with. A cool-running LED panel and a fiery old tungsten head are two completely different beasts.
This diagram nails the thought process for why you’re even reaching for a gel in the first place.
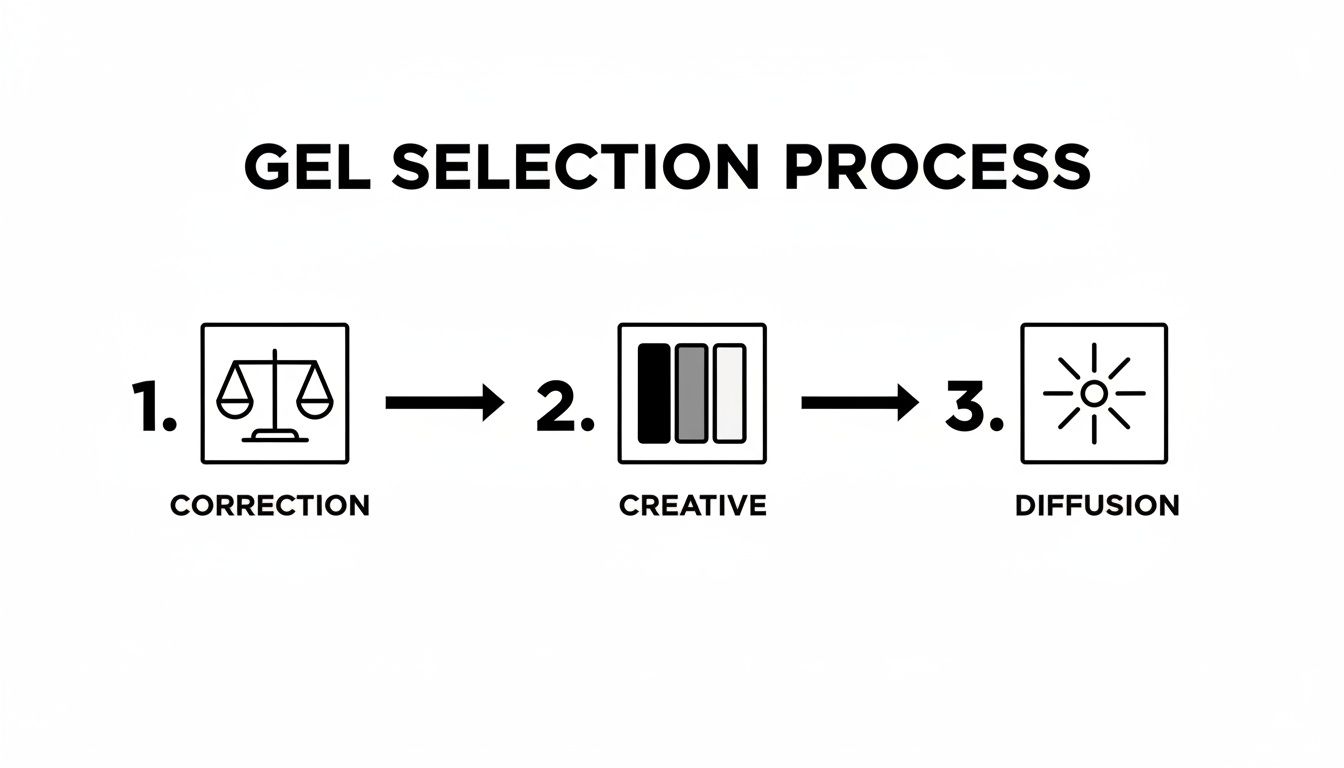
It perfectly shows how gels first solve technical problems (correction) before you can get to the fun, artistic stuff.
On Strobes and Speedlights
For the little speedlights that sit on your camera, you can get some nifty rubber band systems made just for gels. In a pinch, a normal elastic band will do the job, but just be careful not to block any of the flash’s cooling vents. With bigger studio strobes, check for that built-in gel holder first. No holder? Carefully clip the gel to the barn doors. Easy.
For Hot Continuous Lights
Now, this is where you need to be careful. Old-school tungsten or halogen lights get incredibly hot – we’re talking hot enough to melt standard gels and create a genuine fire hazard. Always, always use high-temperature gels on these. And here’s the crucial bit: leave a small air gap, at least a couple of centimetres, between the gel and the bulb. This lets the heat escape. Never, ever tape a gel directly onto a hot lamp.
On Cool-as-a-Cucumber LED Panels
LEDs are an absolute dream to work with. They give off barely any heat, which means you can often just tape your gels straight onto the frame of the panel without a second thought. This makes them brilliant for fast-paced events where you’re swapping colours on the fly.
And don’t be afraid to experiment! Stacking gels is a great way to create custom colours or make a single colour really pop. Chuck a red and a blue gel together, and you get a gorgeous, vibrant purple. Just remember, every layer you add cuts down on your light output, so you’ll need to crank up the power or tweak your camera settings to compensate.
Right, you’ve clipped on your gels and the scene is swimming in a gorgeous, vibrant colour. Fantastic! But here’s the catch: if you just point and shoot, your camera is going to have a complete meltdown. Gels fundamentally alter the light, and your camera needs a bit of a talking-to if you want it to capture that beauty properly.
This is the moment you graduate from just using gels to actually mastering them. Think of it as calmly telling your camera, “Don’t freak out about all this blue, I’m in control here.” Getting your settings sorted in-camera will save you a world of pain in post-production and make sure the final shot looks as epic as the scene you’ve built. It’s the technical bit that unlocks all the creative fun.
Getting a Grip on Your White Balance
First things first, you need to wrestle your white balance into submission. If you leave your camera on Auto White Balance (AWB), it’ll see that intense colour wash, assume something is terribly wrong, and try to “fix” it. In doing so, it completely wipes out the very effect you’re going for. That room you bathed in a moody, deep red? It’ll just look like a muddy grey mess in your photo.
The only way forward is to take manual control.
- Set a Custom White Balance: This is your secret weapon. Before you even think about adding the coloured gels, pop a grey card under your main, un-gelled light and set a custom white balance. This gives the camera a baseline for what “true white” looks like, keeping skin tones looking natural even when the background is a riot of colour.
- Use a Preset: Can’t set a custom white balance on the fly? No worries. Just pick a preset that matches your key light. If you’re using a standard flash, which is daylight-balanced, flick your white balance over to the “Daylight” or “Flash” preset (usually sitting around 5500K). This locks it in, stopping the camera from fighting against your creative choices.
Conquering Exposure and Metering
That intense, saturated light pouring from a gel can easily bamboozle your camera’s light meter. It might see a brilliant red background and drastically underexpose the shot, thinking the whole scene is much brighter than it actually is. Suddenly, your subjects are just dark silhouettes.
To get around this, it’s time to change your metering mode. Spot metering is about to become your best mate. Instead of letting the camera average out the light across the whole chaotic, colourful scene, you get to tell it exactly what matters. Point your spot meter directly at your subject’s skin to get their exposure spot on, and let the wild, colourful background do its thing.
This is exactly how the pros get those incredible concert shots of artists like Taylor Swift. They meter for her, not the insane lighting rig exploding with colour behind her. It makes the artist pop, perfectly lit against a backdrop that feels electric.
Also, and I can’t stress this enough, shooting in RAW is completely non-negotiable when you’re playing with gels. It’s your ultimate get-out-of-jail-free card. A RAW file holds all the raw data from your sensor, giving you huge flexibility to fine-tune the white balance, exposure, and colours later on without trashing the image quality.
Since our launch in 2012, we’ve watched the UK event industry go all-in on creative lighting. It’s a key part of a photography equipment market that’s now worth a staggering USD 2,532.7 million. It’s amazing what a few thin coloured sheets can do; a simple 1/4 CTO gel can make skin tones in 360° photo booth videos look warm and natural. For a brand launch, smart gelled lighting can produce visuals that are 20-50% more engaging and ready for social media. If you’re interested in the numbers, you can find more market insights over at Cognitive Market Research.
Creative Recipes for Unforgettable Event Photos
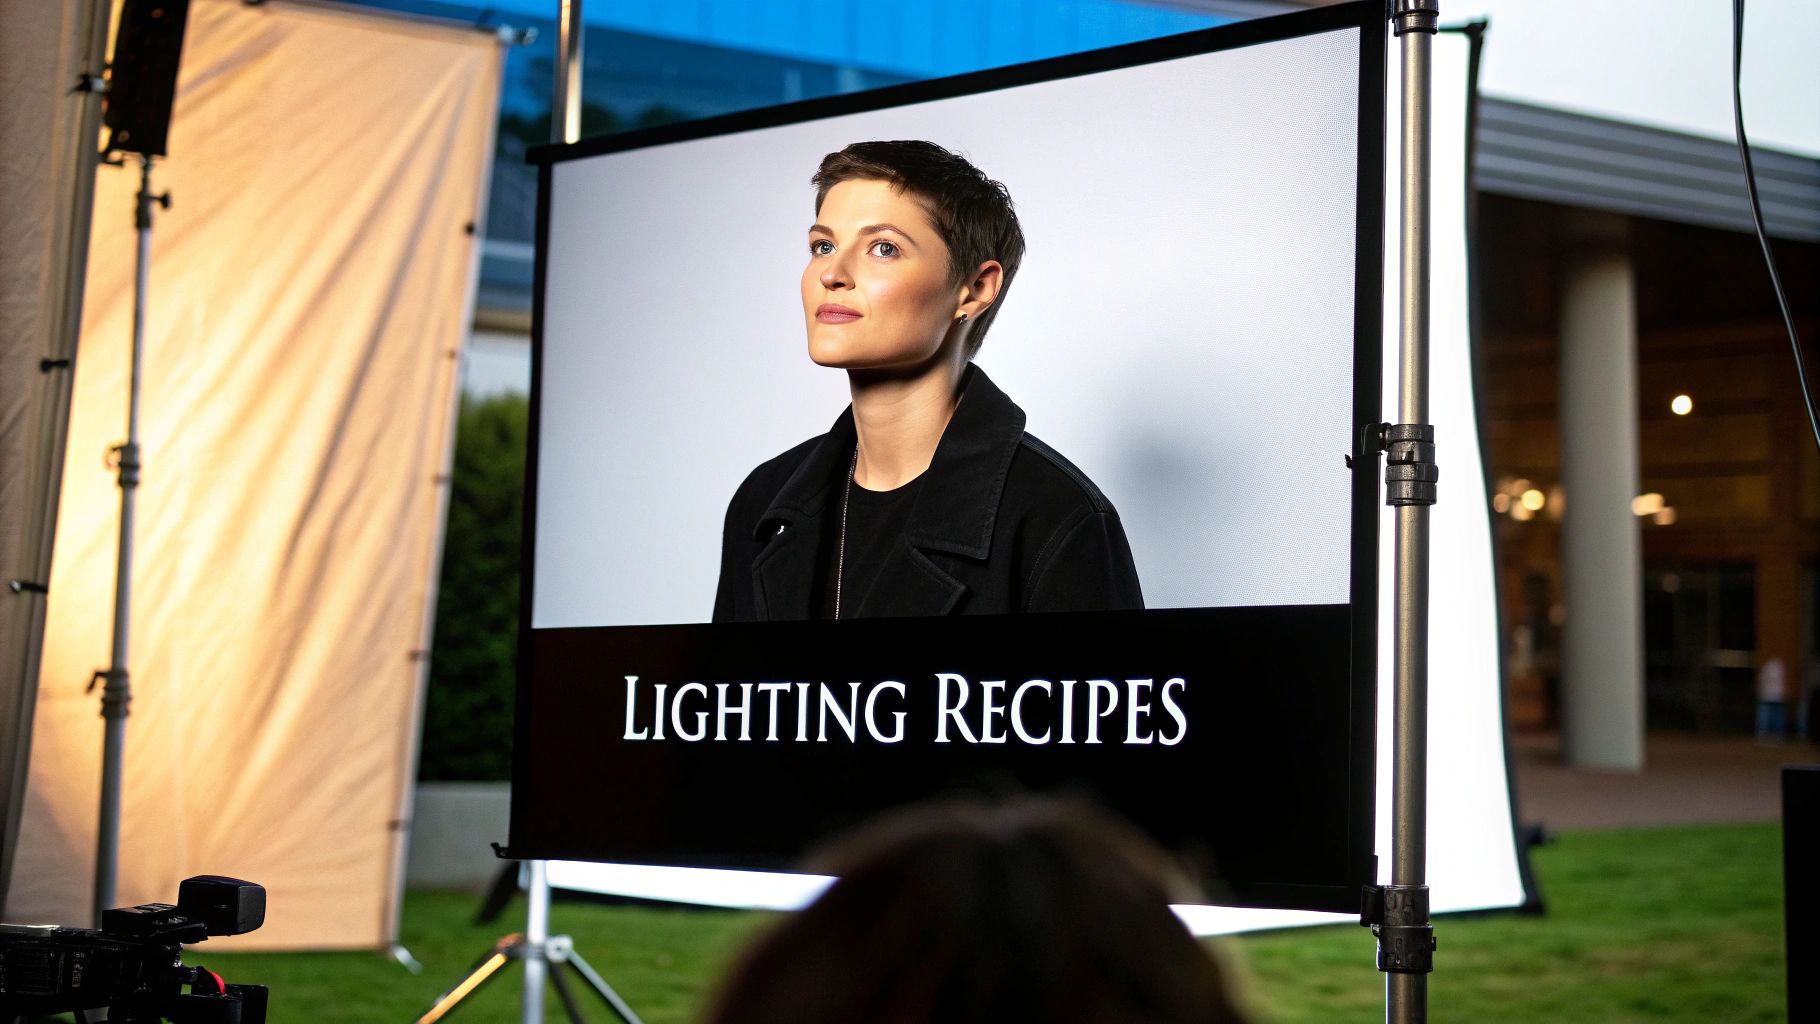
Right, you’ve got the technical bits sorted. Now for the fun part—let’s start playing! This is where we move beyond the theory and cook up some specific, jaw-dropping lighting recipes that will make your event photos the ones everyone talks about.
Think of these as your creative launchpad. They’re tried-and-tested combinations that I’ve used countless times to create a polished, professional vibe straight out of the camera. Tweak them, experiment with them, and make them your own. The goal is to stop just lighting a room and start crafting an unforgettable atmosphere.
The Cinematic Premiere Look
Ever wonder how red-carpet photos of stars like Timothée Chalamet get that high-end, dramatic feel? The secret is almost always a classic colour contrast between a warm key light and a cool, moody background. It’s a cinematic trick that adds instant depth and sophistication.
- Key Light on Subject: Pop a 1/4 CTO gel on your main flash. This adds just enough warmth for a healthy, flattering skin tone without making anyone look like they’ve overdone the fake tan. Position this light slightly off to one side of your camera.
- Background Lights: Here’s where the magic happens. Aim one or two lights at the background or walls behind your subject, then gel them with a teal or deep blue.
- The Result: Your subject will leap out from the background, bathed in a beautiful warm light, while the cool, moody blues behind them create a rich, cinematic world. It’s an absolute winner for corporate awards nights or swanky charity galas.
The Romantic Wedding First Dance
For a moment as emotional as a first dance, your lighting needs to feel soft, dreamy, and utterly romantic. Harsh, clinical lighting is your worst enemy here. We’re aiming for a warm, gentle glow that feels like something straight out of a fairytale.
- Main Light: Grab a large, soft light source (like a softbox or umbrella) and pair it with a light pink or amber gel. This creates a stunning, warm wash that feels incredibly intimate and flattering.
- Accent Light: To really make the couple pop, place a second light behind them and gel it with a light lavender or magenta. This creates a subtle, ethereal rim light on their hair and shoulders, separating them from the background and adding that final touch of magic.
The key to this look is subtlety. You’re not trying to blast them with colour; you’re just tinting the atmosphere. Keep the light soft and the colours delicate to enhance the emotion of the moment, not overpower it.
The High-Energy Tech Launch
Tech launches and brand activations need to feel modern, slick, and full of energy. This is your chance to break out the bold, futuristic colours that echo the brand’s identity. We’re talking less warm-and-fuzzy and more cool, electric tones, perfect for a launch with an innovator like Elon Musk.
To really push your gelled lighting to the next level, remember that post-production can refine your work even further. If you want to create truly stunning visuals from the images you capture, it’s worth taking the time to master AI image editing techniques.
- The Setup: Ditch the single key light. Instead, use two lights, placing one on either side of your subject or the product display you’re shooting.
- The Colours: On one light, go with an electric blue gel. On the other, use a vibrant purple or magenta gel.
- The Vibe: The two colours will mix and blend in the middle, creating a dynamic, high-tech atmosphere. The cool tones give sleek gadgets an almost futuristic sheen, making them perfect for grabbing attention on social media. It’s a bold look that absolutely screams confidence and cutting-edge style.
Got Questions About Lighting Gels? You’re Not Alone.
Even the most experienced photographers have questions when it comes to the finer points of using lighting gels. It’s one of those bits of kit that seems simple on the surface, but the devil is in the details. We’ve pulled together some of the most common questions we hear, giving you the straight answers to get you shooting those incredible, A-lister-worthy photos without the headache.
Can I Reuse My Gels?
You bet! High-quality gels, like the professional-grade ones we use for our event hires, are built to last. They’re typically made from a tough, heat-resistant polycarbonate that can handle being used time and time again. The trick is to treat them well – avoid scratches and greasy fingerprints like the plague, as they’ll show up in your final shot of a star like Anne Hathaway.
When you’re done, store them flat in a cool, dry place. This keeps them from warping and ready for the next job. Just be aware that after a lot of time spent on very hot lights, some of the deeper colours might fade a touch, so it’s always smart to give them a quick look before a big event.
Do I Need Special Lights to Use Gels?
Not always, but the right light makes all the difference. Honestly, modern LED lights are a dream team with gels. They run so much cooler, which means you don’t have to worry about your expensive gel turning into a melted, sticky disaster halfway through a shoot. Most professional event lighting, from powerful strobes to continuous video lights, will have built-in holders or slots designed specifically for gels.
Now, if you’re working with old-school, hotter tungsten lights, you must use gels rated for high temperatures. No exceptions. It’s also crucial to leave a small air gap between the bulb and the gel. This little bit of space lets the heat escape and stops you from accidentally melting or scorching anything.
This is a fantastic question! The secret to avoiding that “I’ve just seen a ghost” look or some bizarre alien complexion is simple: use your coloured gels on the background or as accent lights, not directly on people’s faces.
Imagine you’re at an awards ceremony with someone like Emma Stone; you could wash the back wall in a dramatic, rich blue. Then, use a clean, un-gelled light (your ‘key light’) on your subjects. This keeps their skin tones looking natural and vibrant, creating a stunning contrast that really makes them stand out from the colourful scene behind them.